How To Use Wacker Plate [Detailed Explanation]
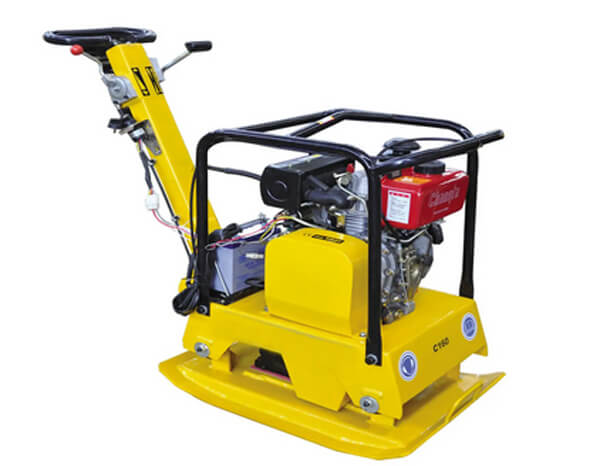
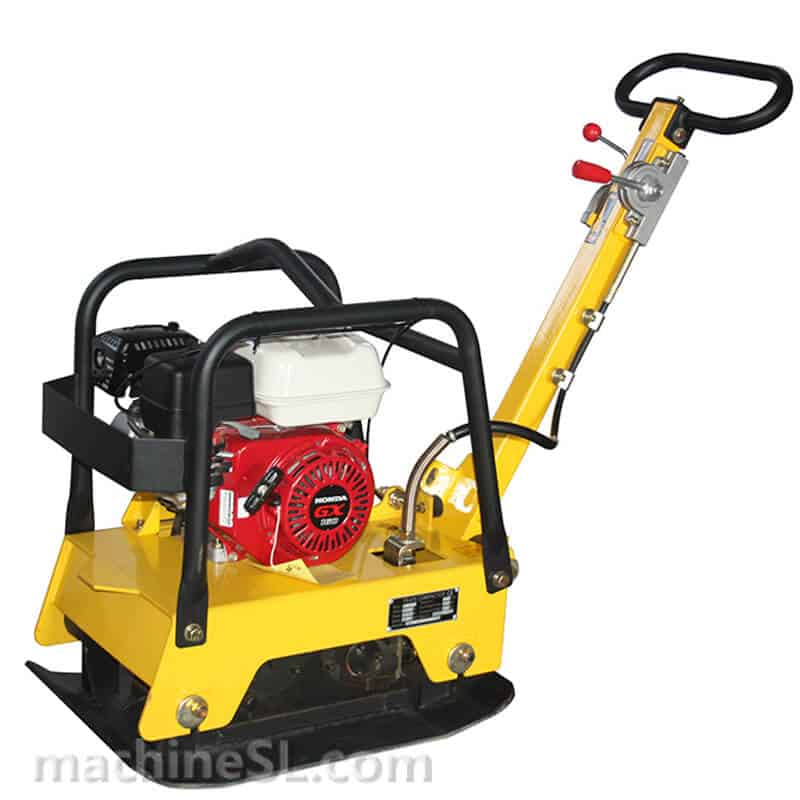
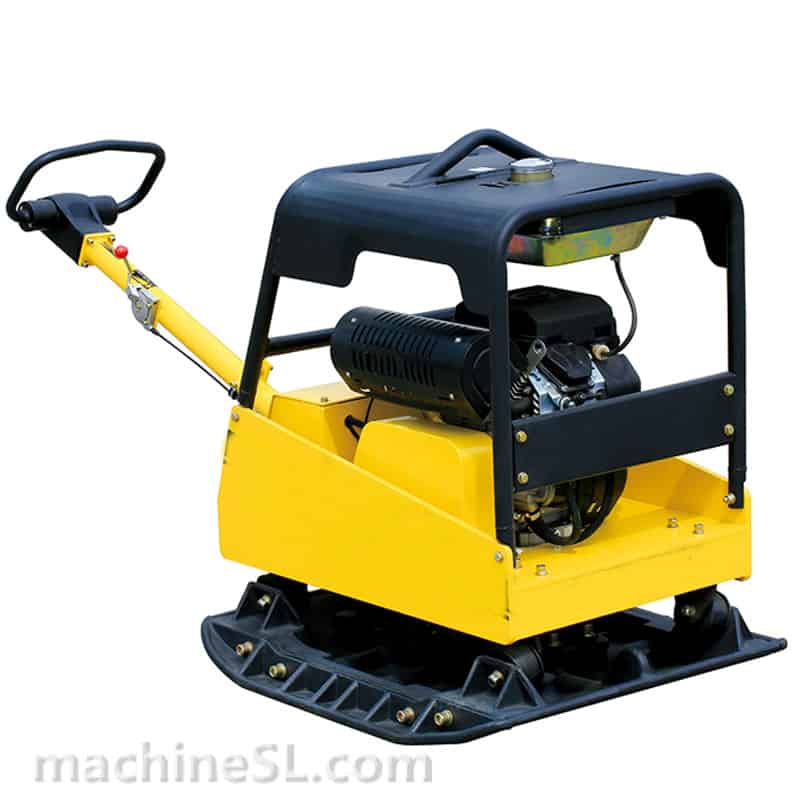
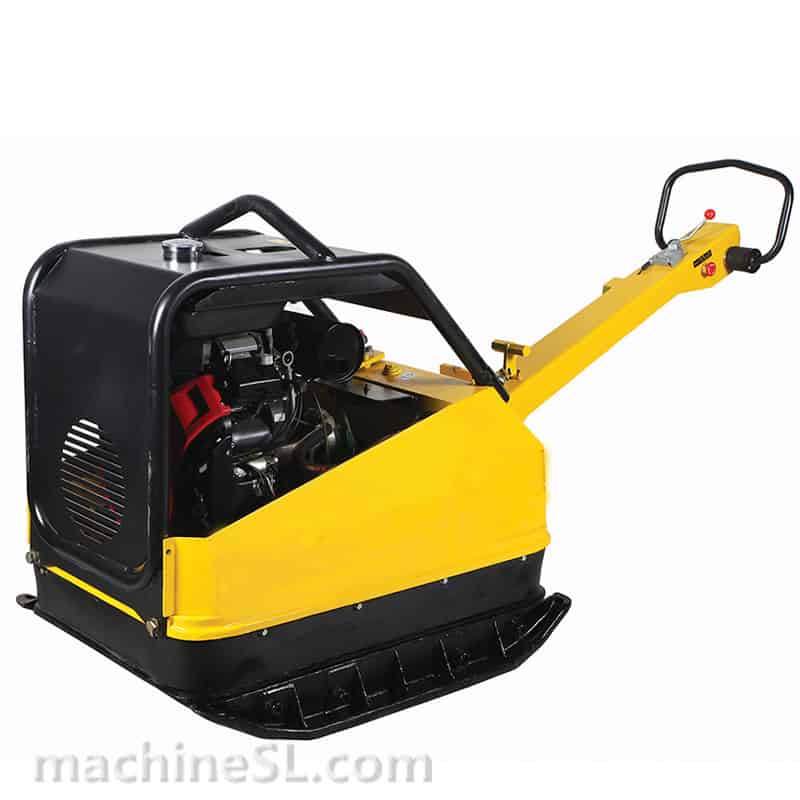
Wacker Plate is a construction equipment used during the early stage of construction to compact the soil, sand, gravel to achieve a level ground for the structure. The soil compaction is made by applying a compactive load/pressure to reduce the air voids between soil particles, thus increasing the density of soil.
This process is to make sure that there are no subsequent settlement of the structure under the working load, to provide stability, reduce water seepage that can damage the foundation of the structure and increase the load-bearing capacity.
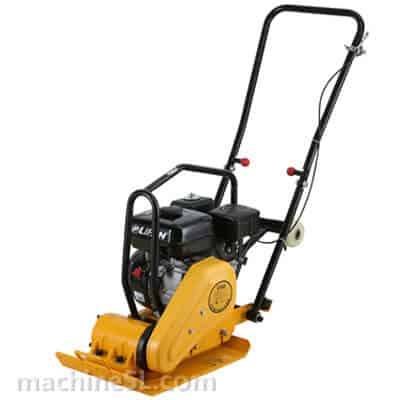
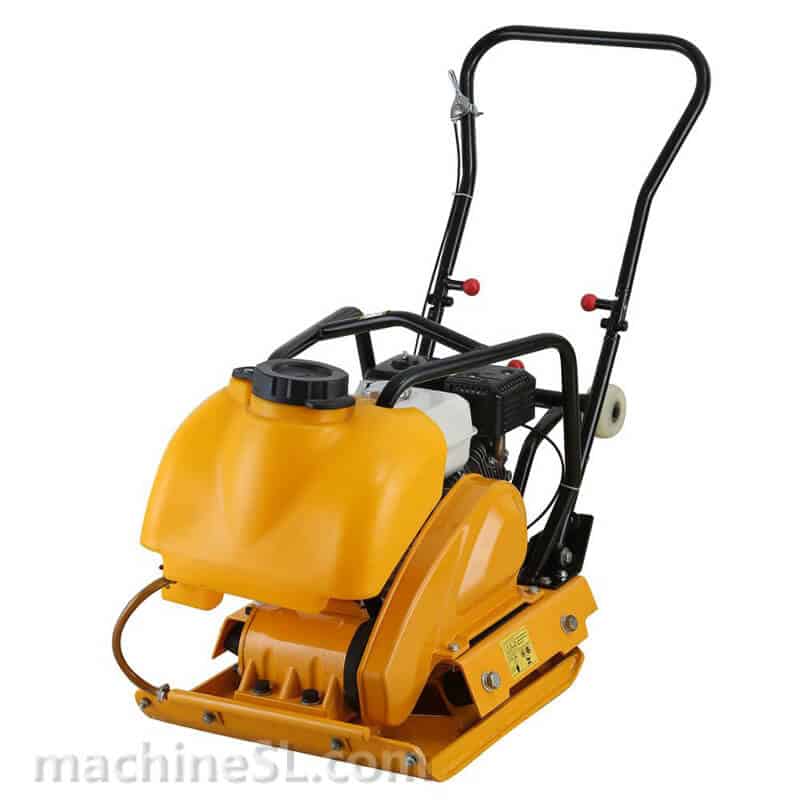
plate tamper start from $150
Contents
Preparation
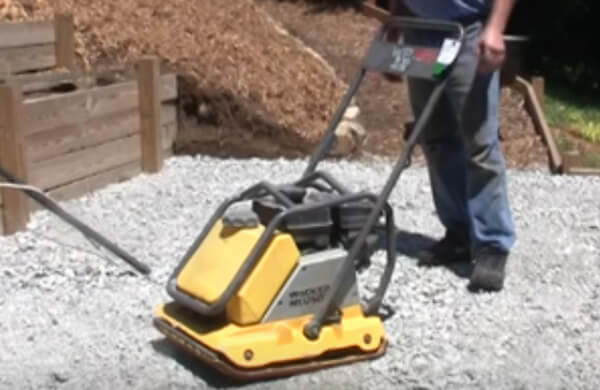
Wear protective clothing that are suitable during using the wacker plate. These safety garments are and not limited to heavy duty safety gloves, ear protection and steel-toed boots. Avoid wearing any dangling accessories that may caught up in the equipment which can cause incidents.
Starting the Wacker Plate
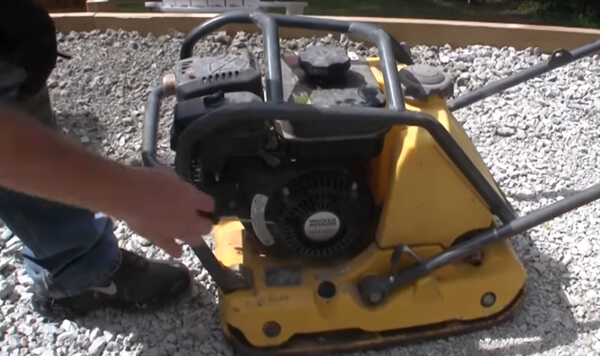
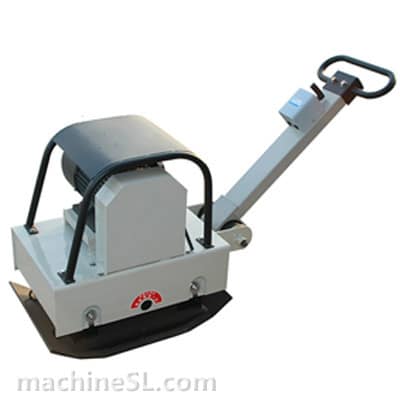
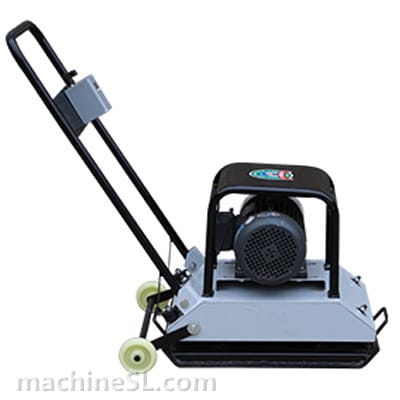
Wacker plates can be powered using two different type, electric and petrol. They both start differently as stated on their manual
Petrol
- If you are starting the engine cold, turn the choke lever, which is usually found at the back, to the right to open the choke. If you are only restarting a warm engine, you make skip this part or partially open the choke lever.
- Start by turning the fuel tap on by moving the on/off lever or switch to the right, according to the equipment manual.
- Check the machine’s throttle if it is in idle position. If not make sure that the throttle is in idle position by moving the level full down to the bottom or in the middle depending on the type of wacker plate compactor’s manual. This step is to make sure that when you start the machine, it will not run in a full vibration and move forward.
- Now use your dominant hand to the control handle and hold it firm, take the recoil starter using your other hand and pull the cord towards you until you felt an engine resistance and slowly let it return to its starting point. Repeat this step for 3 times, with a maximum of 7 attempts, until the engine starts. If it didn’t, try to check the manual if there are missing procedure and start again, if issues are not resolved, call your contractor or supplier to assist.
- Once your engine is fully set up, move your choke level to its off position or partially off, depending if it is required.
- Next would be turning your throttle to its full on position and you will notice an increase in the plate vibrator and it may start to forward. Hold firmly the control handle to maneuver it.
Electric
- Plug in the transformer to a power supply or by using a generator.
- Connect the transformer to the wacker plate.
- Just turn the switch on and the wacker plate will start and now ready to be maneuvered.
Tip:
– A petrol fueled wacker plate is best used outdoors, where there is proper air ventilation. Use electric wacker plate indoors.
Using the Wacker Plate
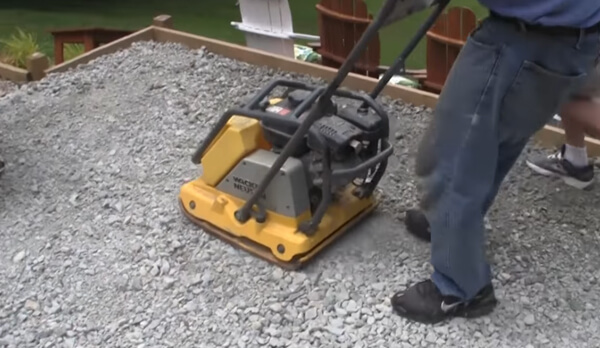
The machine due to its vibration will move forward, grip the control handle and maneuver it to your lot. Starting on the corners or edges, maneuver your wacker plate following a straight strip and turn it around to the next strip until you have covered all your area. You may need to compact your soil a couple of times to achieve the required compact depth of your area.
Tips:
– Wet the area but ensure that the area contains the right amount of moisture content. This technique is done to help the soil particles bond together. Lesser moisture content will lead to improper compacted soil while too much moisture content will fill the voids and weaken the bearing capacity of the compacted soil.
-Avoid maneuvering the wacker plate fast as it may not compact the soil proper leaving some areas loose.
Stopping the Wacker Plate
Petrol
- Turn the throttle lever to idle and wait for the machine to slowly stop running for about 2 minutes or depending to the equipment manual guide.
- Until it settled down, turn the engine off.
- Close the choker off and turn off the fuel engine to fully stop.
Electric
- Simply turn it off and unplug the wacker plate.
Storage and Maintenance
- Always clean the base plate of your wacker plate to free it from hardened debris.
- Make sure to store the wacker plate in a clean and dry area to keep the equipment from damages or rust.
- Regularly check the engine oil tank, make sure that the oil level is up to the recommended level. When filling, use the recommended oil type and never overfill as it may leak.
- Also check the fuel tank, make sure that it is up to the recommended level. When refilling, always make sure that the engine is not turned on and hot, to avoid any incidents. Make sure that you are filling in a dry cool area away from any heat. If there are any incidents of over-spill, clean it off and avoid turning it on unless it is all dried up.
- Check the air filter if there are no built-up dirt or dust, replace or clean it.
Wacker Plate Alternatives
Wacker plates are versatile compactors, choosing your compactor greatly depends on the type of soil you are going to compact. Soil can be classified into fine-grained and coarse-grained. Fine grained soils can be silt and clay while coarse-grained soil are sand and gravel. There different type of rollers, rammers and compactors for these type of soil to achieve the required compaction. You can also do it in manual which will take you time and effort.
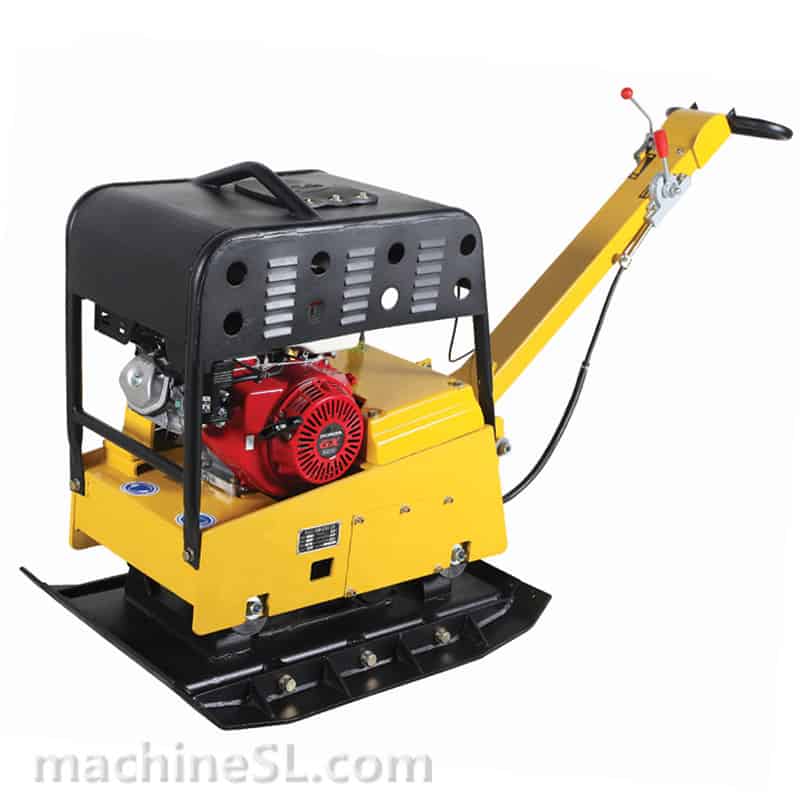
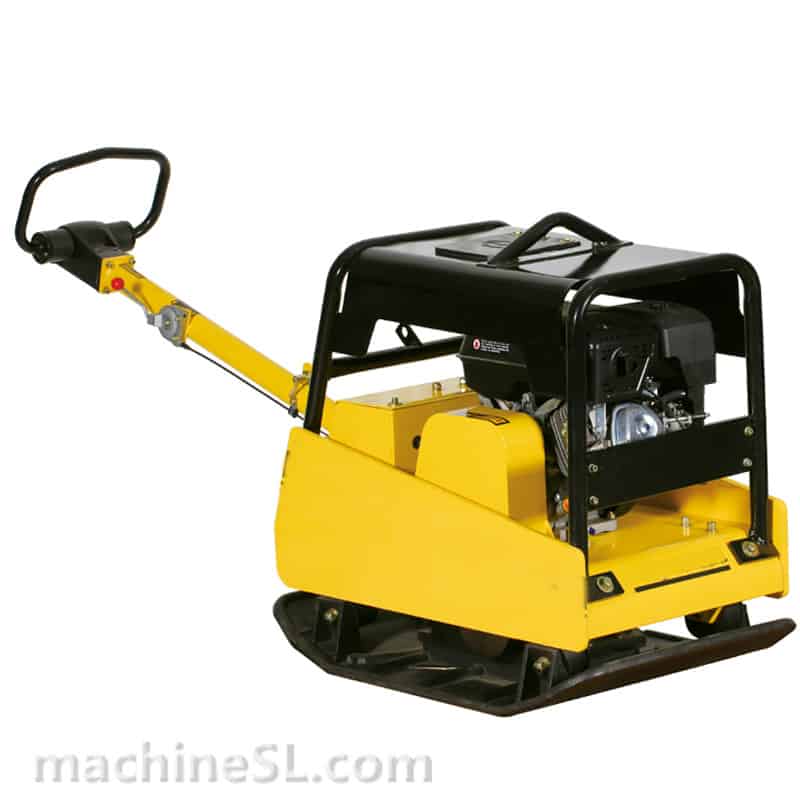
The sizes of your compactor depends on how big your compacting project is. When choosing on always choose one that can cover a bigger area and can distribute the weight equally on the covered area of the base plate. Also consider using a heavy duty wacker plate to avoid machine breaking down while using.
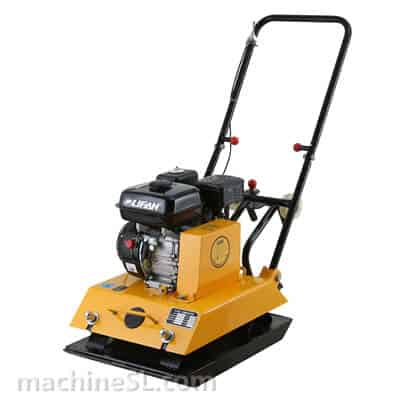
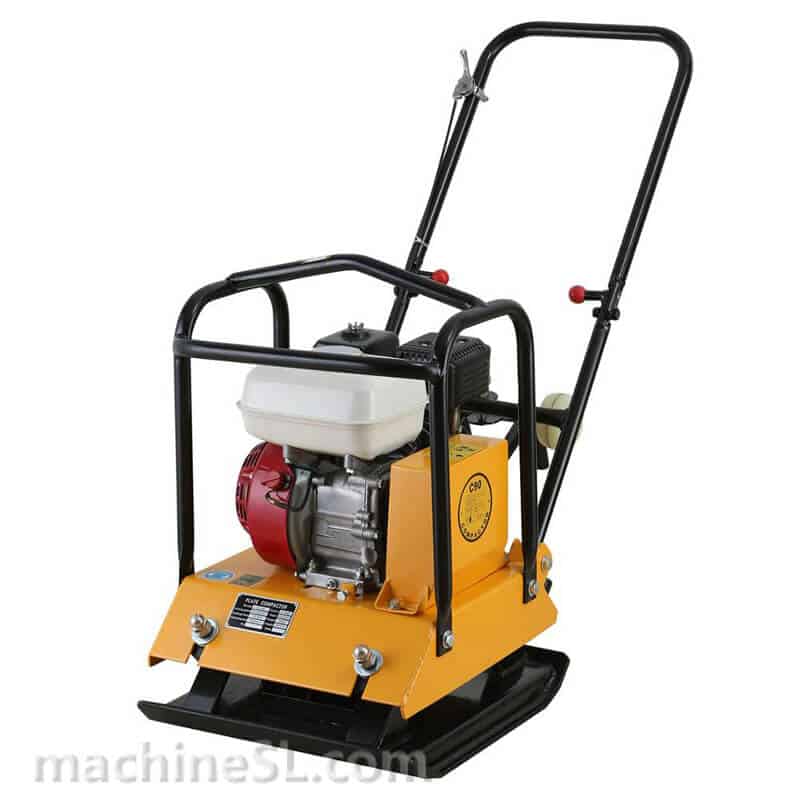
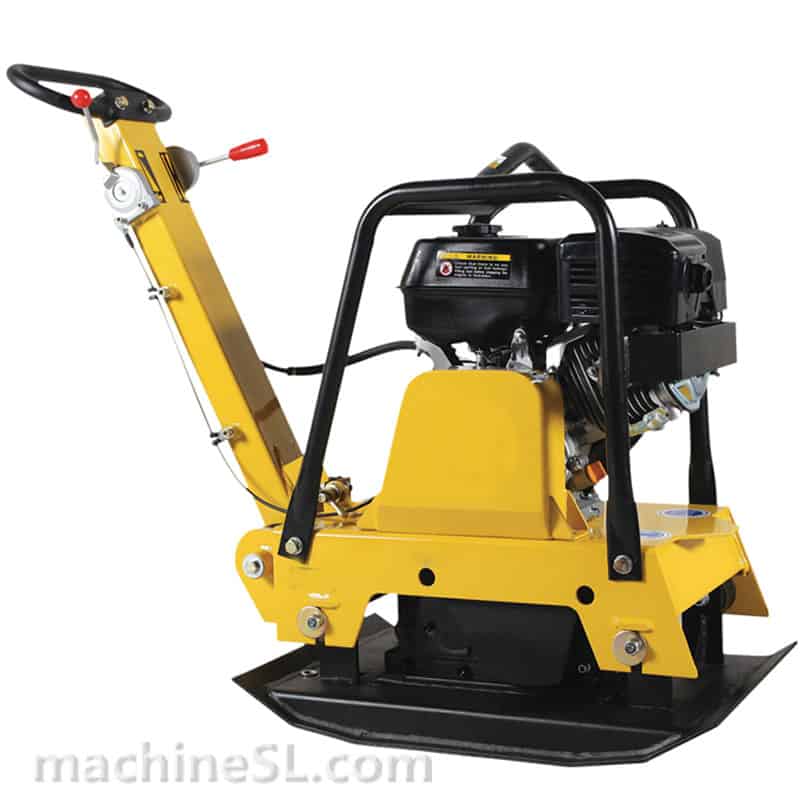
vibratory plate compactor start from $150
Conclusion
There are two types of wacker plate: using a fuel and electric. Fueled wacker plate are used on outdoors while electric wacker plate are used for indoors. Invest or use heavy-duty wacker plate to achieve desired compaction without any issues of unfinished compacting.
To achieve required compaction, you must choose the wacker plate vibration rate, size and type that works greatly on your compaction project area.

Leave A Comment